Blog
Whipped Nutella
For over a decade, I was an exclusive tea drinker. Coffee was of no interest. I had tried coffee just a handful of times but it was too harsh and not the soothing, caffeinated drink I wanted to start my mornings.
Enter cold brew. Cold brew took the acidic taste out and depending on how it was made, sometimes included a bit of sweetener. I’ve fallen in love with cold brew and found that when I make it at home, I like a really basic combination of unsweetened Stok cold brew with a dash of heavy cream.
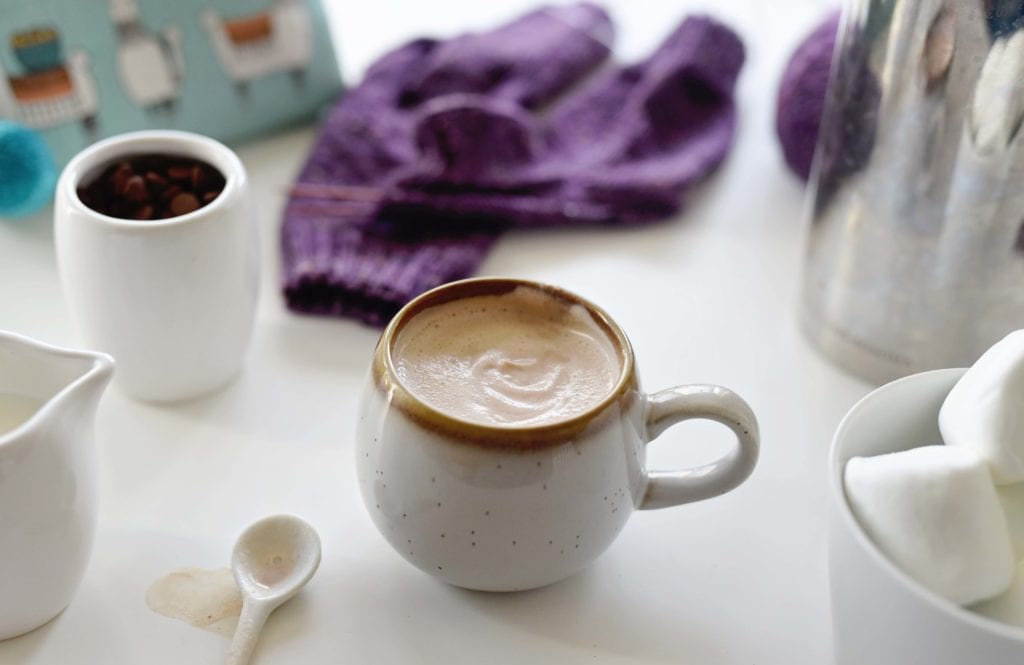
However, as the temperatures drop, I have been wanting hot coffee. There are a few different combinations that I like but my favorite treat is whipped Nutella for my coffee creamer. And it is incredibly easy to make.
Ingredients: heavy cream, half a spoonful of Nutella
Tools: milk frother (I used a Bodum milk frother found at Target)
This can be a little hard, a possibly messy, to mix. I find that about a quarter of a cup of heavy cream is needed to properly mix in the Nutella. Also, I use a coffee mug to do this and then hold it at an angle. This helps avoid cream flying out of the mug. Mixing a sticky solid with a liquid takes a bit of finagling so you may have to try doing this different ways until you get used to it.
Once everything is fully mixed, add to your hot coffee (or maybe just eat with a spoon) and enjoy! This is also a perfect topper for hot cocoa as we head into winter!
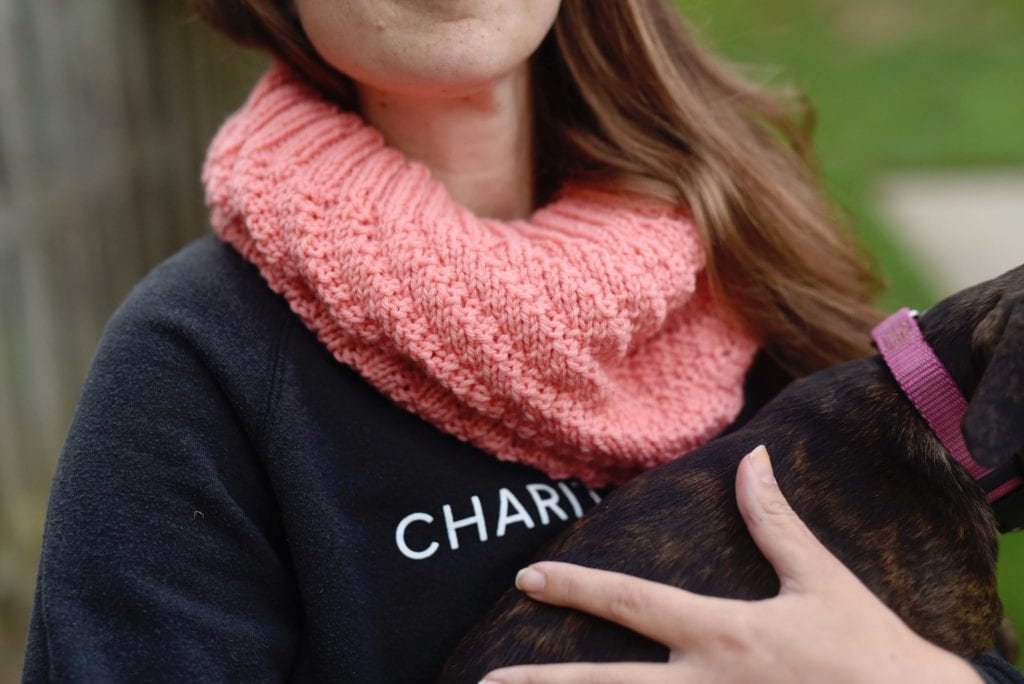
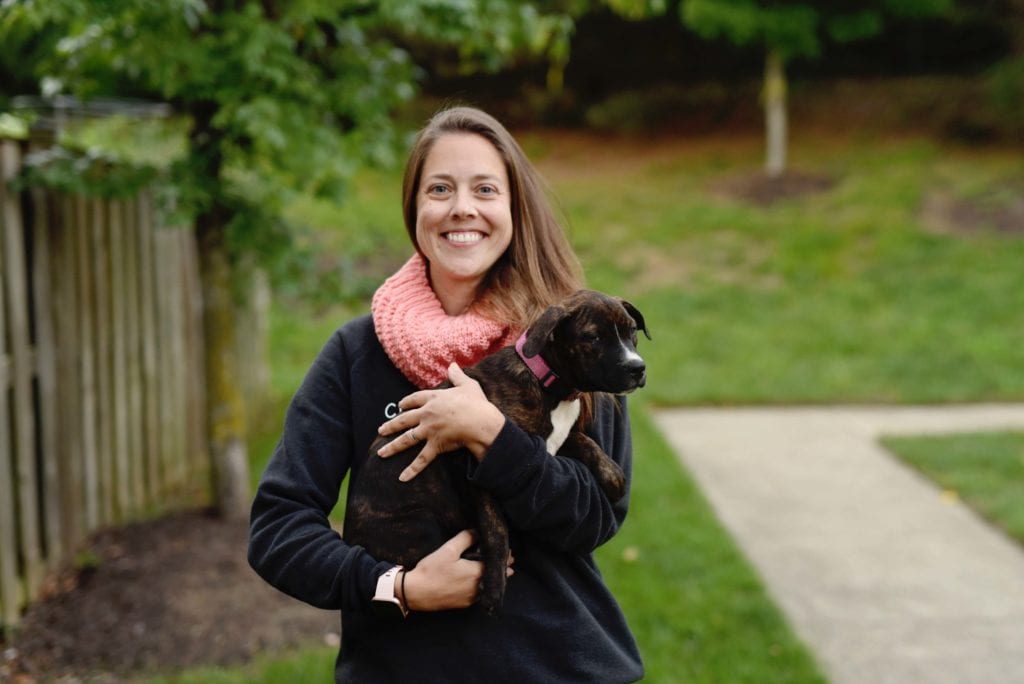
The Cascade Cowl
One of my goals this year was to publish at least one free knitting pattern. Honestly, my hope had been more but with full time work and no child care for more than six months, some of my goals for the year had to get cut down. I guess if this year is good for anything, it’s teaching us to revise, pivot, and let go.
But today, October 1st, I’m launching this pattern for free and there are still 14 weeks left in the year – yes, I counted today to check. So there is the possibility of another free pattern release before the end of the year. Unlikely but, if I can pull it out over Christmas break, we shall call it good!
I am always and forever trying to use up yarn in my stash. While my stash isn’t something I panic about – I love yarn and I will get to a lot of it eventually – I do love when I can use some of it up. Hopefully you will be able to do the same! This is also very affordable and accessible worsted weight yarn which was a part of my goal for creating a free pattern.
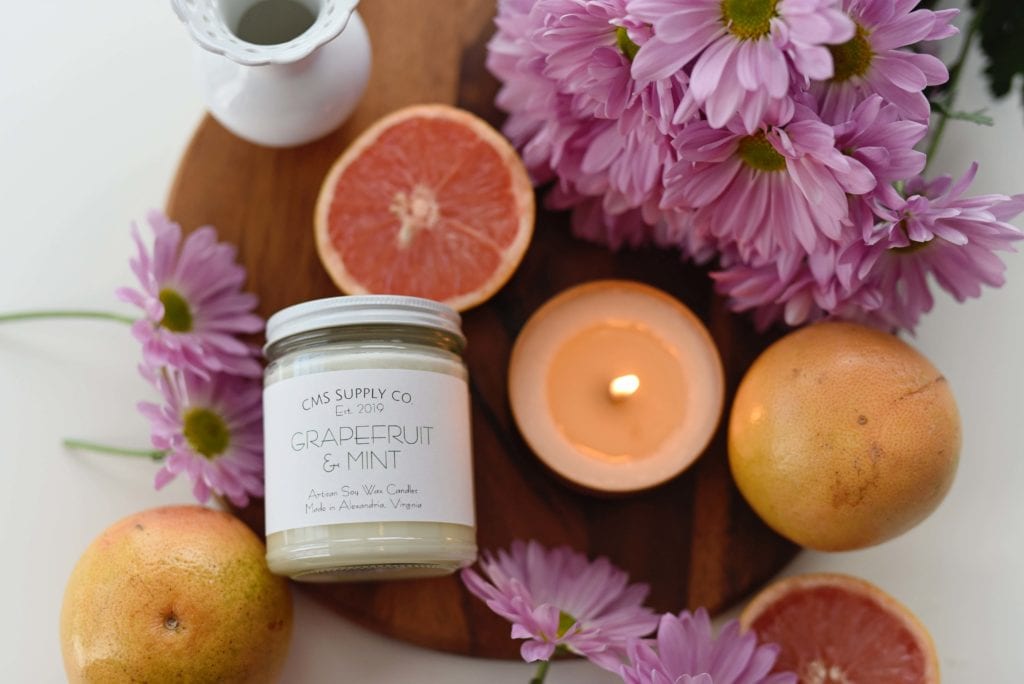
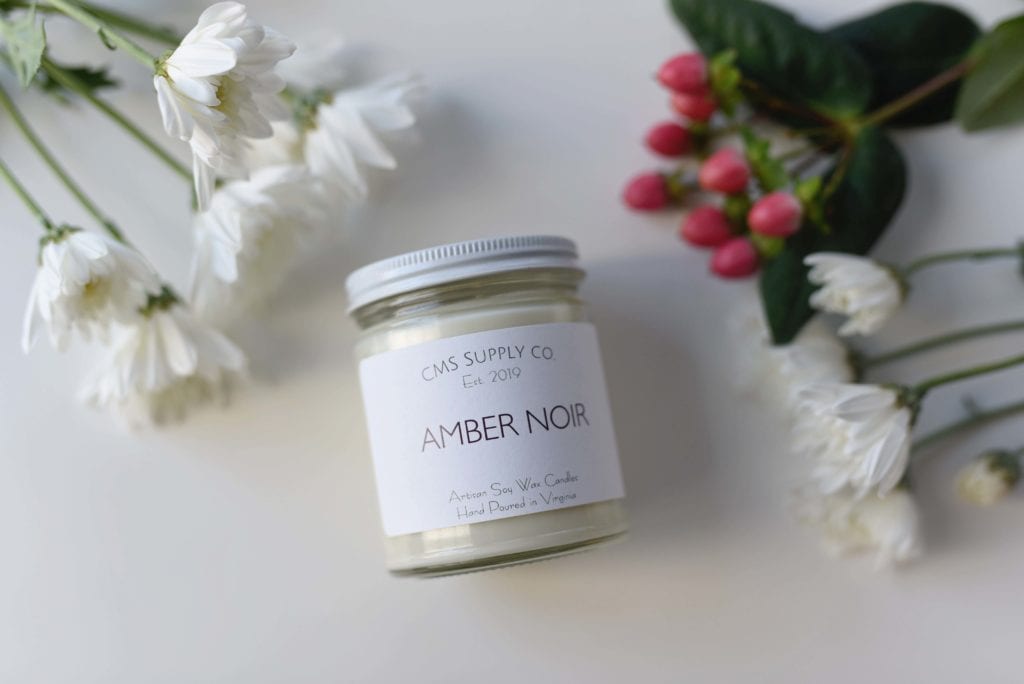
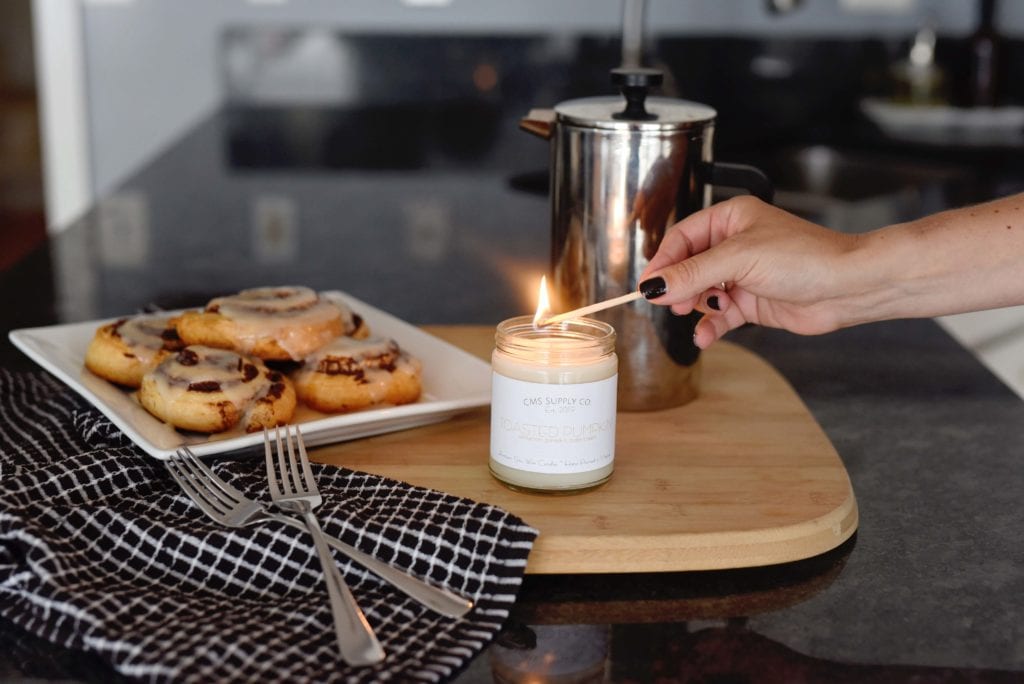
Before I launch into the details, I want to mention that this post is brought to you by CMS Supply Co – my candle company. So if you love to be cozy by the candle light with knitting in your hands, I have you covered. Ads for other peoples things aren’t quite my jam, but I am going to tell you to take a peek at that shop tab to see what’s in stock!
Description
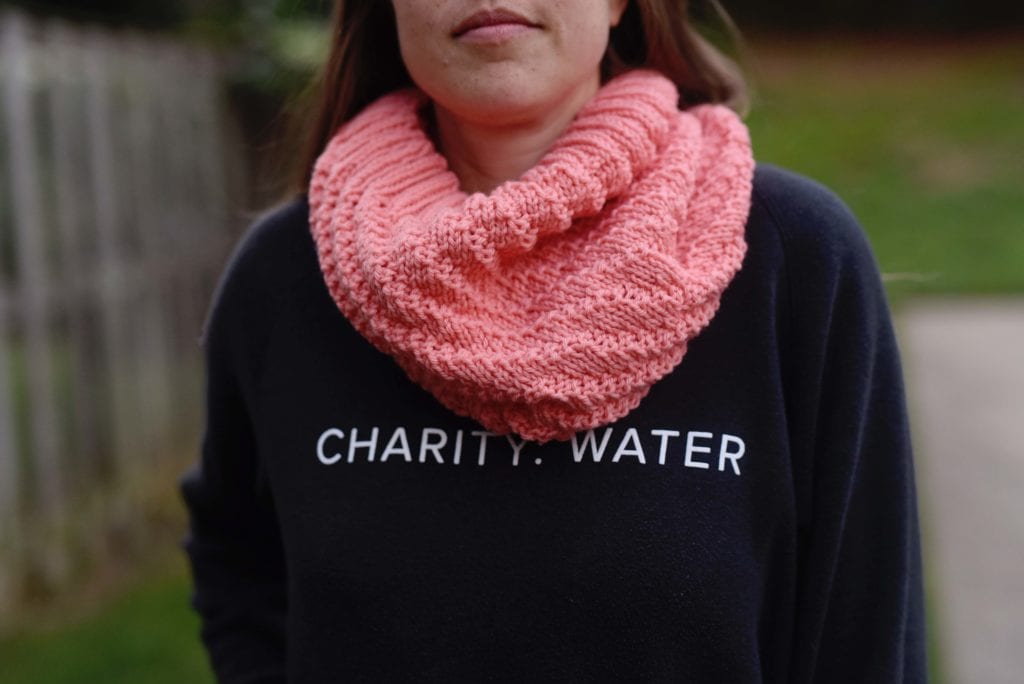
This infinity cowl is knit in the round using light worsted weight yarn. You can certainly substitute with another yarn – like DK weight – but it may impact your gauge and therefore the sizing of your cowl and potentially the yardage required.
Size
14.5 inches/37 mm height
26.5 inches/67 mm width
Yarn
Worsted weight yarn – approximately 275 yards total
This cowl was made using 1.25 skeins of Cascades 220 superwash wool
Suggested Needles
Size 8/5.0 mm circular needles (or size needed to get gauge)
Notions
Daring Needle, Scissors, Stich marker(s) as desired
Gauge
18 sts = 4inches/10 mm
Pattern Notes
The Cascade cowl is a really simple, easy to memorize knitting pattern. Cast on 120 stitches. Join in the round being careful not to twist your stitches. Place a marker to denote the beginning of the round.
Section 1: Ribbing
Round 1: *Knit 2, purl 2 – repeat from * to end of the round
Repeat round 1 twelve times.
Section 2: Cascades
Round 1: *Knit 3, purl 2 – repeat from * to end of the round
Round 2: Repeat round 1
Round 3: *Knit 2, purl 2, knit 1 – repeat from * to end of the round
Round 4: Repeat round 3
Round 5: *Knit 1, purl 2, knit 2 – repeat from * to end of the round
Round 6: Repeat round 5
Round 7: *Purl 2, knit 3 – repeat from * to end of the round
Round 8: Repeat round 7
Round 9: *Purl 1, knit 3, purl 1 – repeat from * to end of the round
Round 10: Repeat round 9
Section 3: Ribbing
Repeat Section 1
Bind off in pattern. Cut yarn and weave in ends. Block your work.
If you decide to make this cowl, I would love to see your finished cowl! Please use #cmsknits on Instagram to share your work!
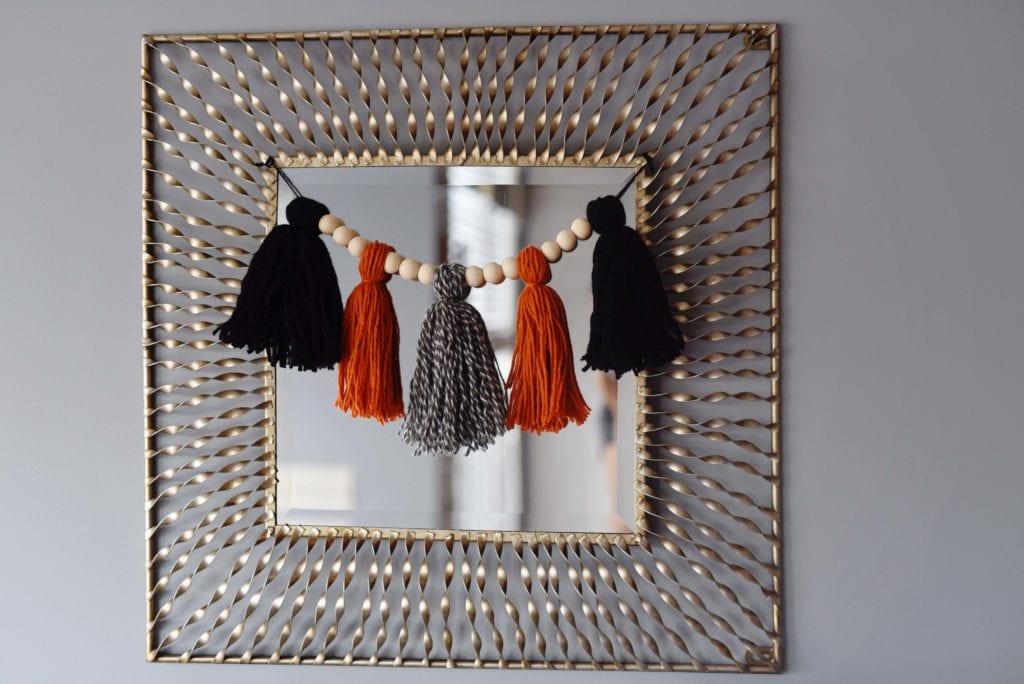
Easy DIY Halloween Garland
Fall is a magical time of year. Winter has lovely white snow, spring makes promises of good weather to come, summer has the heat and the pool, and then fall has all the holiday magic. Plus our household celebrates three out of four birthdays over the course of the fall and who doesn’t love cake?
During the past few years, I have slowly added fun bits of fall and Halloween decor to our home. Which makes this little Halloween garland a perfection addition. The tassels are a really easy DIY and I will certainly be making garlands like this in other colors for the coming holidays.
This is a short 4 minute video of how to make the tassels. I found a couple of little tricks that make the process much easier and wanted to share!
For this DIY project, I used the following items:
-Yarn – The black and grey/white marled yarn can be found here
-Scissors
-A hardcover book if you use the tutorial I posted on youtube
-And wooden beads if desired
I think my next one will have to involve purple, black, and orange for a fun twist on Halloween colors. If you make the garland, or at least plan to make one, I would love to hear what colors you are using!
One Little Word
Every year – well, nearly every year – we head to the mountains of Virginia for a little getaway. We stay in a garden style hotel where our space is nothing more than tiny. A bedroom, oversized bathroom, plus a living room/eating nook/kitchen. I would estimate the square footage at about 500. Maybe.
And yet, would you believe me if I told you that I look forward to being in this tiny space every year?
We are careful with what we pack. Just the necessary clothes, a few games, and knitting for me. We hit the pool, roam around the local college, and cook all our meals in a postage stamp of a kitchen. In fact, the kitchen has no oven but we manage to make it work.
And I love it.
I love it because tidying the space takes all of five minutes. I love it because I am reminded – thoroughly – of how little we need. I love it because less is more and this is proof.
Which all leads me to my one little word. I sometimes choose a word for the year. I’ll write it down and let it guide me in small ways during the year. This year is different.
Instead of selecting a word which ultimately only provides a small amount of guidance in my year, this year I’d like to make it front and center. This is a word that I have already mentioned on Instagram. (In my story highlights, I have a video about 2019 goal setting and my personal goals.) That single word is: contentment.
Over the last few months I have made changes in our home and most importantly to our finances. I started focusing on contentment before I ever realized it was something I was doing. And now I plan to dive more fully into it. I have seen the success of it in my wardrobe and now I’m ready to let it blossom into more parts of my life.